Video Games Blog
Basic Search
Clear All
Basic search
Clear All
Showing 1 - 15 from 345

1-99/120 RS3 Necromancy Guide: Fast and AFK Methods
1-99/120 RS3 Necromancy Guide: Fast and AFK Methods
Training Manuals
Necromancy is the latest and greatest combat skill for Runescape 3, so no more questions like “When is Necromancy coming to RS3?” This member's skill was released on 7 August 2023 and is the first
By Helen Gray
August 8, 2023
Read post
RuneScape 3 has had a sudden influx of content, leaving many players at a loss for where to begin! Worry not; Chicks Gold is here to guide you to success. Within this article, we will look at the many
By Helen Gray
August 11, 2023
Read post
OSRS can detect auto clickers through their advanced detection system. The game tracks unusual clicking patterns and repetitive actions that don't match normal human behavior.
By Gabriele Asaro
December 30, 2024
Read post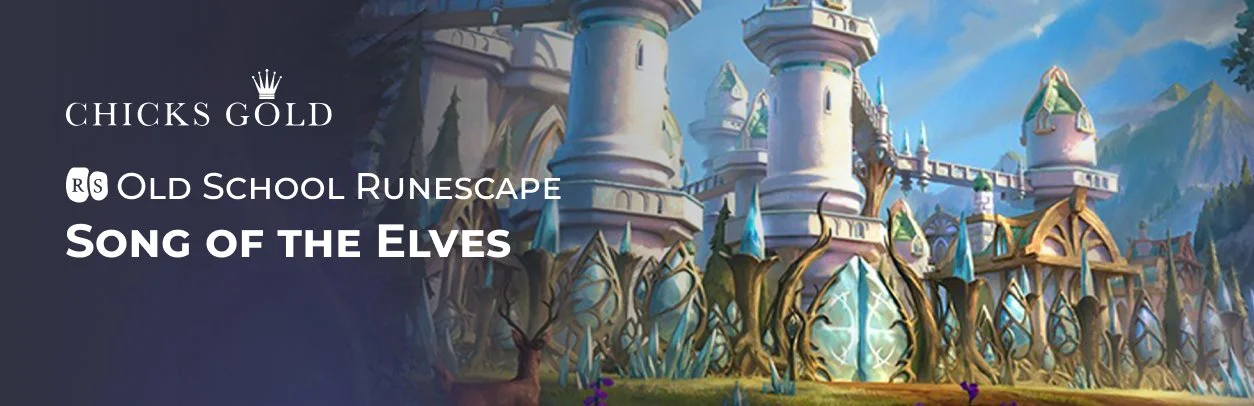
The Song of the Elves release date was July 25th, 2019. It is a grandmaster quest and the final installment in the Elf quest series. This immersive and engaging quest, filled with a rich storyline, in
By Armand Visser
April 20, 2023
Read post
Knowing how to organize bank in OSRS is essential for smooth gameplay. I'll show you the most effective ways to sort your bank and save time.
By Gabriele Asaro
December 27, 2024
Read post
Understanding what can autocast demonbane spells helps players optimize their demon-slaying strategies. Three specific staves offer this capability, each with unique advantages for different combat si
By Gabriele Asaro
February 6, 2025
Read post
As RuneScape 3 has just dropped the 29th skill Necromancy, it's all the rage right now. So there's no doubt many of our users are already embarking on their dark journey to 120, which is why w
By Helen Gray
August 18, 2023
Read post
Maximizing points in Guardians of the Rift (GOTR) depends on specific strategies and gear setup. I will share proven methods from extensive gameplay experience to help you achieve peak performance.
By Gabriele Asaro
February 4, 2025
Read post
The Heroes' Quest challenges players with a series of tests to assess their determination to join the prestigious Heroes' Guild. The guildmaster will present several items that players have to
By Kristian Barčot
December 30, 2022
Read post
Finding your playtime in Old School RuneScape (OSRS) takes just a few clicks through the Character Summary panel. The Character Summary panel contains your essential account information.
By Gabriele Asaro
February 5, 2025
Read post
Getting an Araxxor task in OSRS needs specific requirements and steps.
By Gabriele Asaro
December 20, 2024
Read post
We’re back once again to discuss the RS3 The First Necromancer quest series! Within this article we’ll discuss the fourth quest in the series, Spirit of War in RS3. If you haven’t yet, don’t forget to
By Helen Gray
August 25, 2023
Read post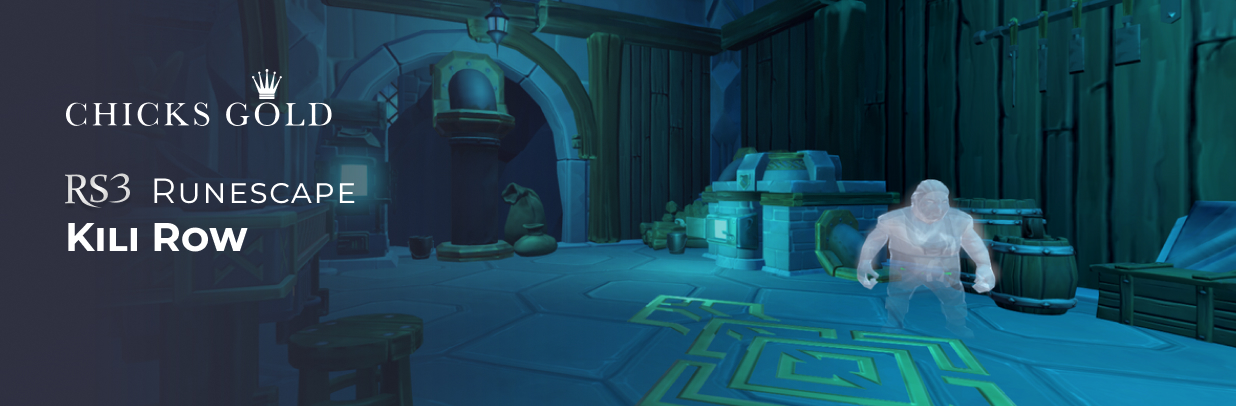
RS3 Kili Row Quest Guide - All You Need to Know
RS3 Kili Row Quest Guide - All You Need to Know
Training Manuals
Welcome back to another exciting Chicks Gold installment! This article will be discussing the new Kili Row quest in RS3. We will cover the requirements, recommendations, and more to see you to a succe
By Helen Gray
August 23, 2023
Read post
Yes, you can play OSRS and RS3 at the same time, but there are specific rules you need to know. The main rule is that you cannot use the same character in both games simultaneously. This means you nee
By Gabriele Asaro
December 29, 2024
Read post
The short answer is no - you cannot play Old School RuneScape (OSRS) directly in modern browsers like Chrome or Firefox. These browsers removed Java plugin support, which was needed to run OSRS.
By Gabriele Asaro
December 29, 2024
Read post
Showing 1 - 15 from 345
1-99/120 RS3 Necromancy Guide: Fast and AFK Methods
1-99/120 RS3 Necromancy Guide: Fast and AFK Methods
Training Manuals
Necromancy is the latest and greatest combat skill for Runescape 3, so no more questions like “When is Necromancy coming to RS3?” This member's skill was released on 7 August 2023 and is the first
By Helen Gray
August 8, 2023
Read post
RuneScape 3 has had a sudden influx of content, leaving many players at a loss for where to begin! Worry not; Chicks Gold is here to guide you to success. Within this article, we will look at the many
By Helen Gray
August 11, 2023
Read post
OSRS can detect auto clickers through their advanced detection system. The game tracks unusual clicking patterns and repetitive actions that don't match normal human behavior.
By Gabriele Asaro
December 30, 2024
Read post
The Song of the Elves release date was July 25th, 2019. It is a grandmaster quest and the final installment in the Elf quest series. This immersive and engaging quest, filled with a rich storyline, in
By Armand Visser
April 20, 2023
Read post
Knowing how to organize bank in OSRS is essential for smooth gameplay. I'll show you the most effective ways to sort your bank and save time.
By Gabriele Asaro
December 27, 2024
Read post
Understanding what can autocast demonbane spells helps players optimize their demon-slaying strategies. Three specific staves offer this capability, each with unique advantages for different combat si
By Gabriele Asaro
February 6, 2025
Read post
As RuneScape 3 has just dropped the 29th skill Necromancy, it's all the rage right now. So there's no doubt many of our users are already embarking on their dark journey to 120, which is why w
By Helen Gray
August 18, 2023
Read post
Maximizing points in Guardians of the Rift (GOTR) depends on specific strategies and gear setup. I will share proven methods from extensive gameplay experience to help you achieve peak performance.
By Gabriele Asaro
February 4, 2025
Read post
The Heroes' Quest challenges players with a series of tests to assess their determination to join the prestigious Heroes' Guild. The guildmaster will present several items that players have to
By Kristian Barčot
December 30, 2022
Read post
Finding your playtime in Old School RuneScape (OSRS) takes just a few clicks through the Character Summary panel. The Character Summary panel contains your essential account information.
By Gabriele Asaro
February 5, 2025
Read post
Getting an Araxxor task in OSRS needs specific requirements and steps.
By Gabriele Asaro
December 20, 2024
Read post
We’re back once again to discuss the RS3 The First Necromancer quest series! Within this article we’ll discuss the fourth quest in the series, Spirit of War in RS3. If you haven’t yet, don’t forget to
By Helen Gray
August 25, 2023
Read post
RS3 Kili Row Quest Guide - All You Need to Know
RS3 Kili Row Quest Guide - All You Need to Know
Training Manuals
Welcome back to another exciting Chicks Gold installment! This article will be discussing the new Kili Row quest in RS3. We will cover the requirements, recommendations, and more to see you to a succe
By Helen Gray
August 23, 2023
Read post
Yes, you can play OSRS and RS3 at the same time, but there are specific rules you need to know. The main rule is that you cannot use the same character in both games simultaneously. This means you nee
By Gabriele Asaro
December 29, 2024
Read post
The short answer is no - you cannot play Old School RuneScape (OSRS) directly in modern browsers like Chrome or Firefox. These browsers removed Java plugin support, which was needed to run OSRS.
By Gabriele Asaro
December 29, 2024
Read post